


THE MOST TRUSTED GARAGE DOOR REPAIR SERVICES IN ANGOLA, NEW YORK
A properly operating garage door provides safety and convenience to you and your family. As fellow neighbors to Angola residents, we understand the importance of your garage door and its role in your day-to-day tasks.
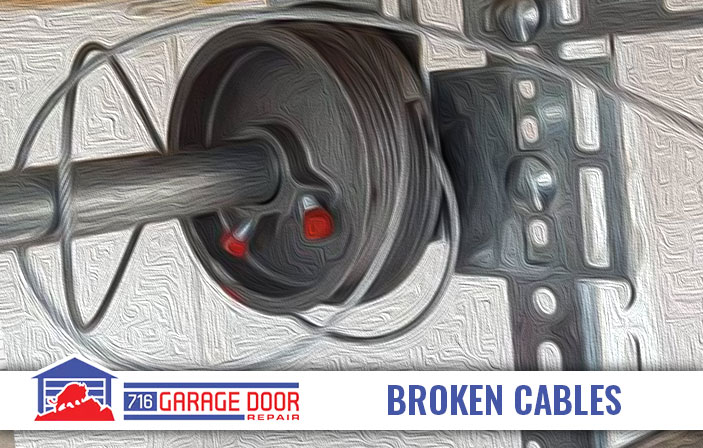
If you find your garage door spring broke in the middle of the night, you will have a real challenge when you try to leave for work because your car will be stuck in the garage!
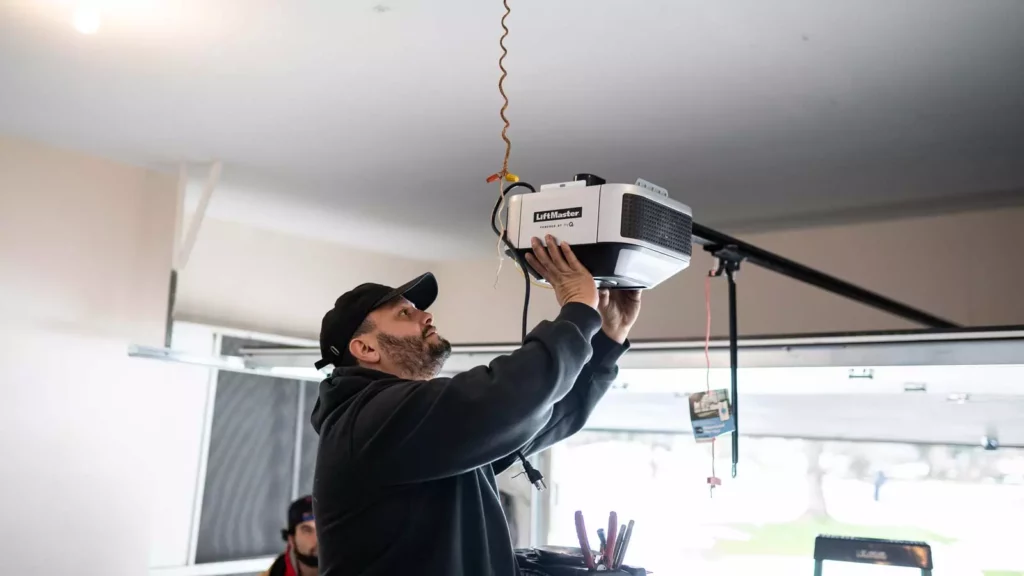
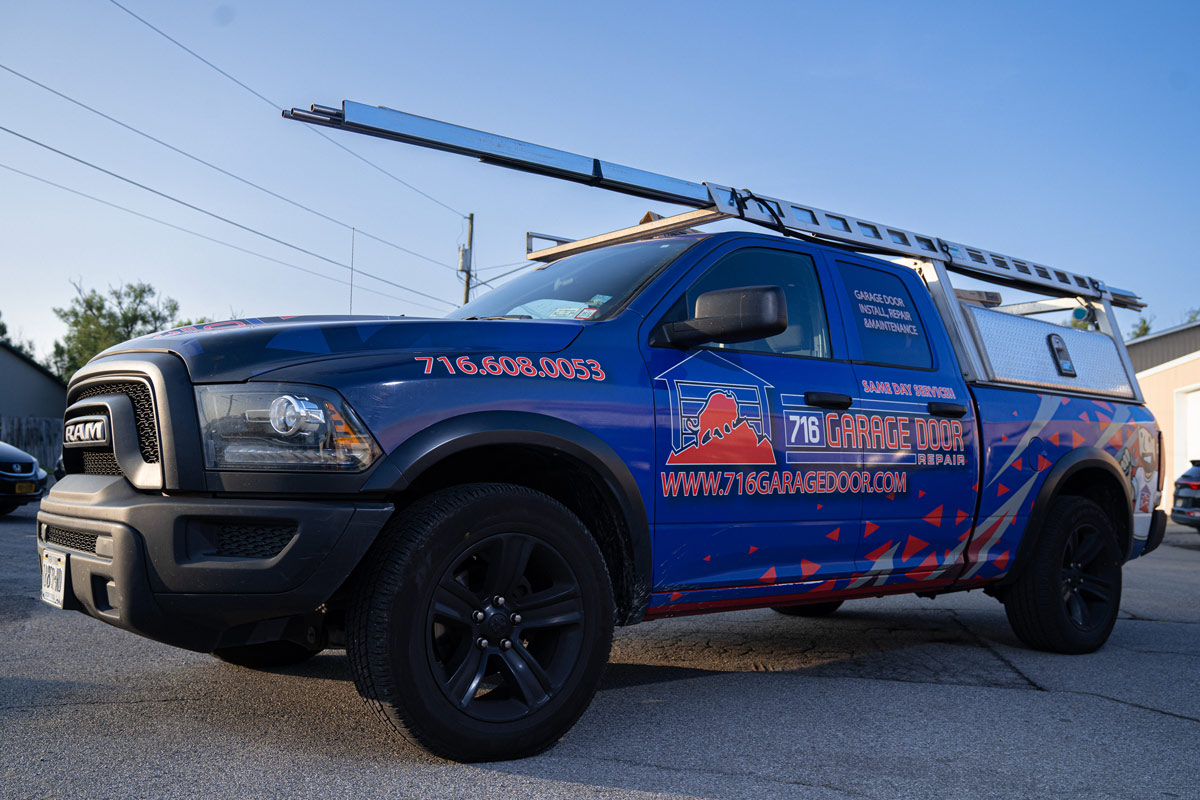
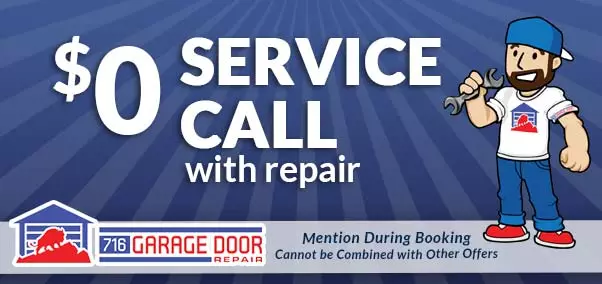
No matter how big or small the repair is, if your door isn’t functioning properly, 716 Garage Door Repair has the professionals at the ready, to fix your garage door back quickly, even at inconvenient times. When you have a garage door emergency repair need, you may not be able to wait until normal business hours to address it. That’s why 716 Garage Door Repair is available 24 hours a day, 7 days a week. No matter when your garage door stops working, you can trust us to provide prompt, efficient, and professional repairs. Give us a call today (716) 608-0053.
WE PROUDLY SELL & SERVICE ALL BRANDS OF DOORS & OPERATORS IN ANGOLA, NEW YORK
WHO IS 716 GARAGE DOOR REPAIR?
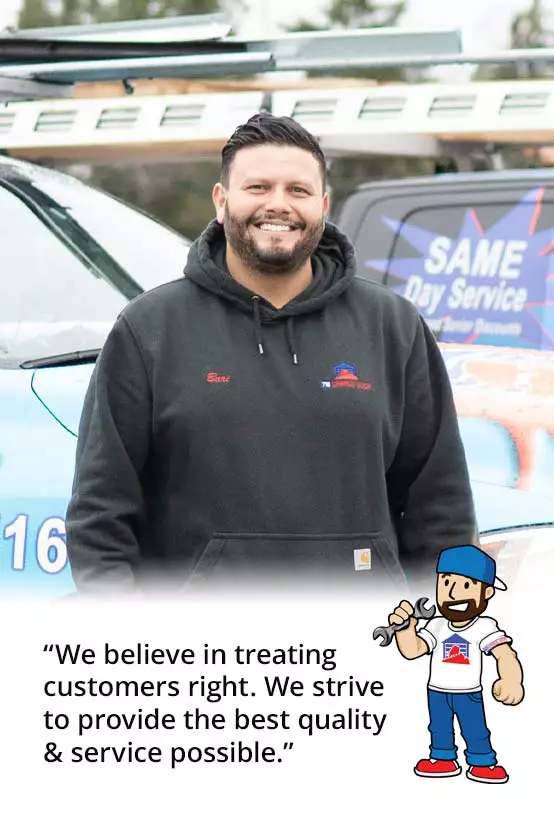
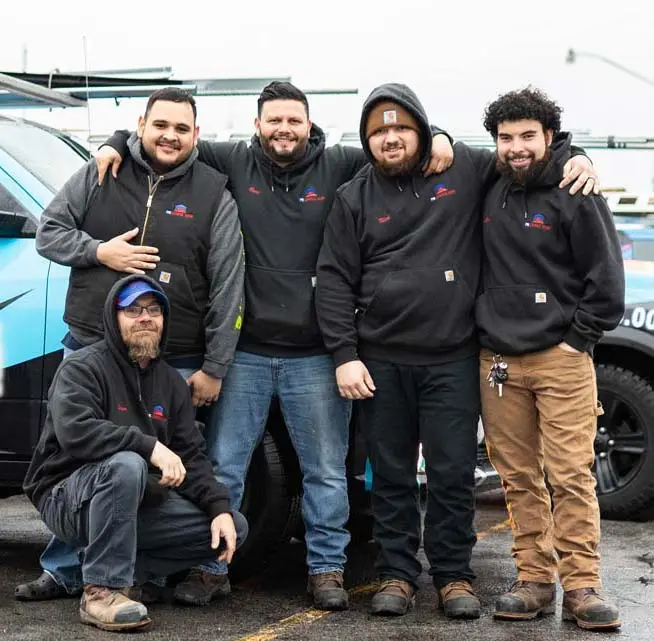
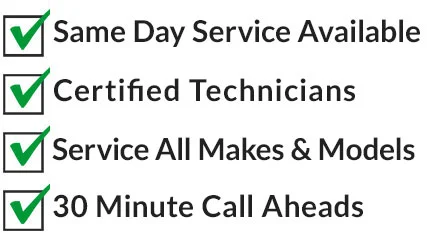
At 716 Garage Door Repair, we strive to meet the needs of our customers both in the work we provide and the interactions we have with them. Our president, Bari Elmaribi, has made it his mission to create a culture in which the customers’ needs are our top priority. From offering lifetime warranties on our work to waiving off service fees if customer satisfaction is not successfully met, we provide you with garage door repair services you can count on.
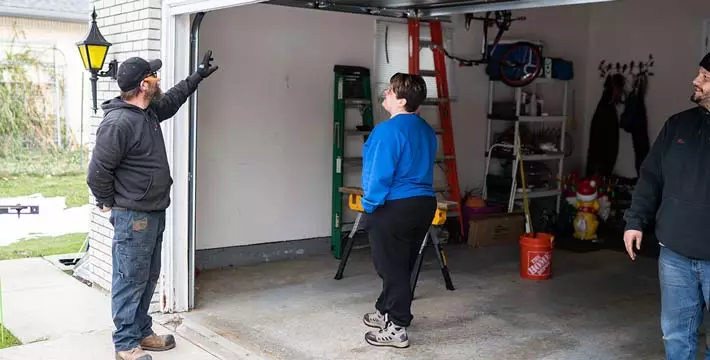
TRUST 716 GARAGE DOOR REPAIR FOR QUALITY WORKMANSHIP IN ANGOLA, NEW YORK
As a part of the community in Angola, New York, our team wants the residents to know that we’re the garage door technicians they can trust. Our experts are all highly trained and dependable. With more than a decade of experience, we are committed to offering only the best garage door services.
Contact us today to schedule your garage door repairs. We promise that you’ll be greeted by a friendly team member who is ready to make your experience as easy and stress-free as possible. We are known as the Angola, New York garage door repair experts for a reason!
Get to know your local Agnola Community!
Welcome to the town of Angola! We know you will find plenty to do here. For assistance finding local home services, we’ve created a list of a couple of our favorites below.
- Todd’s Landscaping – Great landscaping work
- Lovell’s Remodeling – Kitchen remodeling
- Main Automotive Service – Car repair