

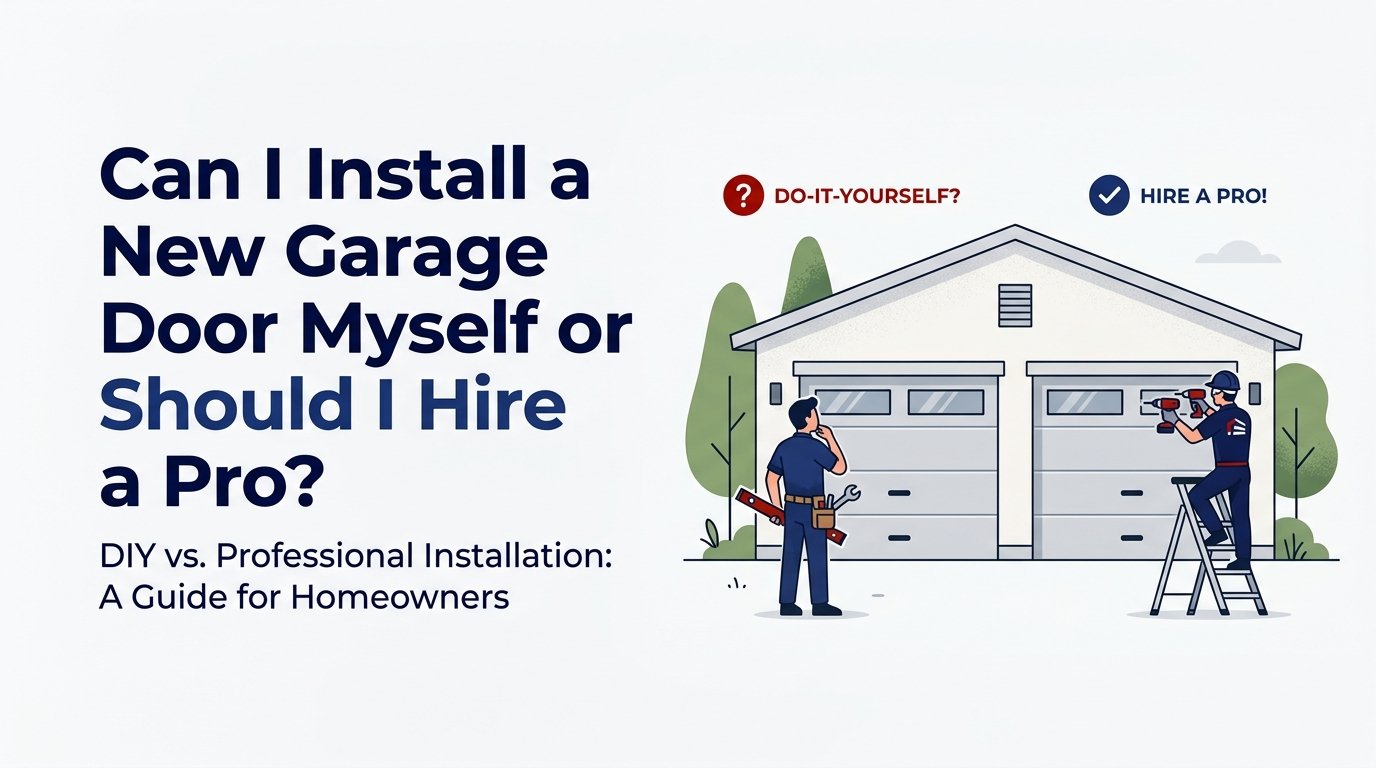
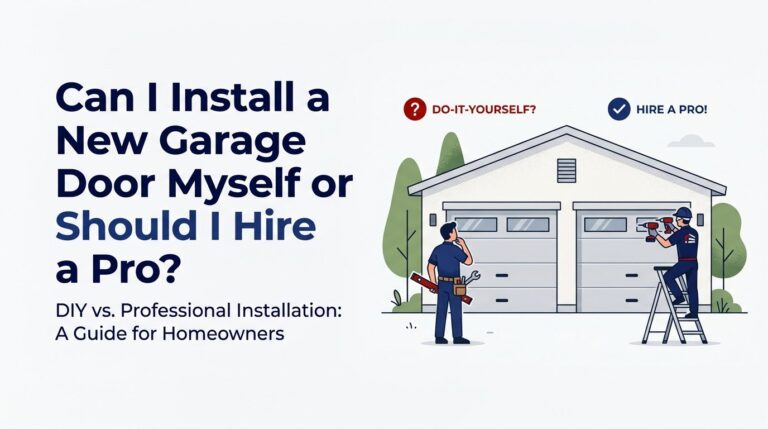
Picture this: you’re standing in your driveway, staring at a garage door that’s seen better days, and you’ve got a YouTube video paused on your phone. The guy in the video makes it look almost manageable. You’re handy. You’ve tackled plenty of home projects. So the question naturally comes up — can you just do this yourself?
It’s a completely fair thing to wonder. Plenty of homeowners in Western New York ask it every year, especially when they’re looking at the cost of a new door and thinking about where they might save some money. The honest answer is: it depends on which part of the job you’re talking about.
Some pieces of a garage door installation are genuinely within reach for a capable, patient DIYer. Others are legitimately dangerous — not in a “read the warning label” kind of way, but in a “people get seriously hurt” kind of way. This article is going to walk you through the difference, so you can make a smart decision before you start pulling things apart.
What You’re Actually Signing Up For
Before you decide anything, it helps to understand what a full garage door installation actually involves. This isn’t a simple swap-out. A complete install means removing and disposing of the old door, assembling the new panels in the right sequence, installing the horizontal and vertical tracks, attaching all the hardware, setting up the springs, connecting the opener, and running a safety check. That’s a lot of moving parts — literally.
Modern garage doors can weigh several hundred pounds depending on the material and size. A standard steel double door isn’t something you’re maneuvering solo. The installation sequence also matters more than most people expect. Panels need to go up in a specific order, tracks need to be plumb and level, and the spring tension has to be calibrated to the door’s actual weight. Rush through any of those steps and you’re looking at a door that binds, makes noise, or fails prematurely.
Here in Western New York, there’s an added layer of complexity that doesn’t show up in most YouTube tutorials. Many homes in the region — especially those built between the 1940s and 1970s — have attached garages with non-standard opening sizes, uneven concrete floors, or wood framing that’s shifted and settled over the decades. What looks like a straightforward install on a newer home can turn into a real puzzle on a mid-century Buffalo or Lockport property where the rough opening isn’t quite square and the header has a little sag to it.
None of that means it’s impossible. It just means you need to go in with realistic expectations about what you might find.
The Part You Should Never DIY: Springs
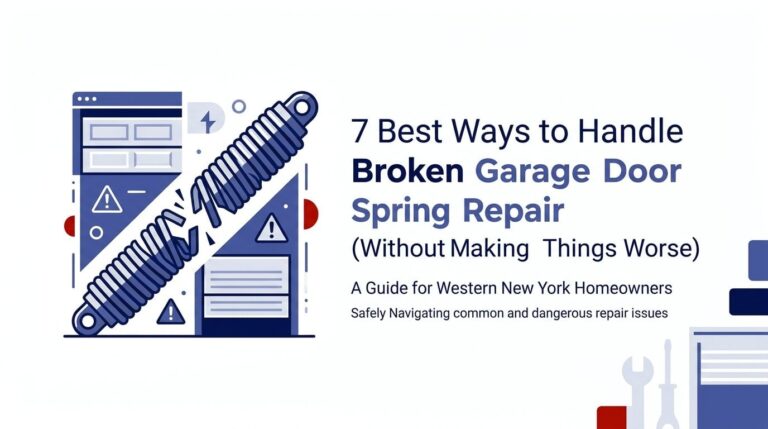
Let’s be direct about this. Torsion springs are not a DIY project. This isn’t cautious marketing language — it’s a genuine safety concern that the garage door industry takes seriously, and for good reason.
Torsion springs work by storing mechanical energy. They’re wound tightly above the door and use that stored tension to counterbalance the door’s weight, making it possible for the opener motor (or your own arm) to lift something that weighs hundreds of pounds. When they’re properly installed and functioning, that tension is managed safely. When something goes wrong during installation or adjustment, that stored energy releases suddenly and violently.
The injuries that result from mishandled torsion springs are not minor. We’re talking about the kind of accidents that send people to emergency rooms. Even experienced handypeople who are comfortable with most home repair projects recognize this as a line they don’t cross without proper training and the right tools.
If your project involves spring replacement or setting spring tension on a new installation, hire a professional. Full stop. This is true whether you’re in Buffalo, Rochester, or anywhere else — the physics of a torsion spring don’t care how handy you are.
The rest of the installation is a different conversation. But springs are the non-negotiable part of this answer.
What a Handy Homeowner Can Realistically Handle
With the spring question settled, let’s talk about what’s genuinely more accessible for a capable DIYer.
Panel assembly on the ground is usually the most manageable part of the job. Most manufacturers include reasonably detailed instructions, and if you have a helper and you’re comfortable reading technical diagrams, assembling the panels before they go up is something a patient homeowner can do well. This is also the least dangerous phase of the project — you’re working at ground level, and the panels aren’t under any tension yet.
Basic track installation and hardware attachment are also within reach if you’re comfortable on a ladder, confident with power tools, and willing to follow instructions carefully and precisely. “Carefully and precisely” is doing a lot of work in that sentence. The tracks need to be straight, properly spaced, and securely anchored. A small error here will show up later as binding or uneven movement.
One thing most confident DIYers underestimate is the time. What looks like a half-day project on video frequently stretches into a full weekend — sometimes longer. Unexpected framing issues, a header that’s not quite level, hardware that doesn’t fit the way the instructions suggest, or just the learning curve of doing something for the first time all add hours you didn’t budget for.
That’s not a reason to avoid it entirely. But it’s worth knowing before you start pulling apart your old door on a Saturday morning.
Why Most Homeowners End Up Calling a Pro Anyway
Here’s something that comes up regularly in this business: homeowners who start a DIY install and end up calling for professional help partway through. It’s common enough that it’s worth naming honestly.
The learning curve is steeper than it looks. A track that’s slightly off-plumb doesn’t announce itself immediately — it shows up as a door that’s a little slow, then noisier, then binding. Small errors compound, and by the time you notice the problem, you’ve already hung the door and connected the opener.
Tools are another real factor. Professional installers bring specialized equipment that makes the job faster and safer. When you start adding up tool rentals or purchases, the cost savings of going DIY often shrink considerably. You might save money on labor and spend it on tools you’ll use once.
In Western New York, weather timing adds another layer of pressure. If you start a garage door project in October and run into an unexpected complication — wrong panel size, a framing issue that needs addressing, a part that has to be ordered — you could be sitting with an open or partially installed garage during a cold snap or early snowstorm. That’s not a hypothetical concern in this region. It happens, and it’s miserable when it does.
None of this is meant to scare you off. It’s just the realistic picture that most online tutorials skip over.
What Professional Installation Includes
When you hire a professional for a garage door installation, you’re getting more than just labor. A full install typically includes removal of the old door and hardware, proper disposal, assembly and installation of the new door with all its components, spring setup calibrated to the specific door weight, opener connection, and a safety inspection before the technician leaves.
The warranty is worth thinking about too. Professional installation usually comes with a warranty covering both parts and labor. If something isn’t right six months down the road, you have someone to call. A DIY install doesn’t come with that backstop — if something goes wrong, the cost and the troubleshooting fall entirely on you.
At 716 Garage Door Repair, we keep pricing transparent and offer free estimates so you know exactly what you’re looking at before you commit to anything. We serve homeowners in Buffalo, Lockport, Rochester, and throughout Western New York. There’s no pressure to decide on the spot — just an honest conversation about what the job involves and what it’ll cost.
A Few Questions We Hear Often
Can I replace just the panels without touching the springs?
Generally, yes. Panel replacement is one of the more accessible DIY tasks because it doesn’t involve spring tension. That said, alignment still matters — panels that aren’t seated correctly can affect how the door tracks and seals. It’s manageable for a careful homeowner, especially with a helper.
Do I need a permit to install a garage door in New York?
For a like-for-like replacement — same size, same location — a permit typically isn’t required. If you’re changing the size of the opening, adding a new opening, or making structural changes to the garage, that’s a different situation and you’ll want to check with your local municipality before starting. Requirements vary by town and city.
How long does professional installation take?
Most single-door installs are done in a few hours. Double doors or custom sizes can take longer, and older homes with framing complications may add some time. Either way, you’re usually back to a fully functional garage the same day.
The Bottom Line
Asking whether you should DIY a garage door installation is exactly the right question to ask before you start — not after. That kind of thinking is what separates a project that goes smoothly from one that turns into an expensive headache.
The honest answer is this: some parts of the job are genuinely manageable for a handy homeowner. Panel assembly, basic hardware work, and careful track installation are within reach if you have the time, the help, and the patience to follow instructions precisely. But the full installation — and especially anything involving springs — is a job where professional experience, proper tools, and a safety check make a real difference.
If you’re ready to get a clear picture of what a professional installation would cost for your home, we’re happy to talk it through. Scheduling online is easy! We serve homeowners across Buffalo, Lockport, Rochester, and all of Western New York, and we’ll always give you a straight answer about what the job involves.



























 Tap to Call: (716) 608-0053